Chocolate Mint Slice Bars
Highlighted under: Whisked & Baked
I love making Chocolate Mint Slice Bars because they combine two of my favorite flavors: rich chocolate and refreshing mint. This no-bake treat is not only easy to prepare but also incredibly satisfying to eat. Each bite brings a delightful crunch followed by a creamy mint filling, and the dragon's treasure of flavor keeps me coming back for more. Plus, they make for the perfect dessert to impress guests or enjoy as an indulgent snack on my own!

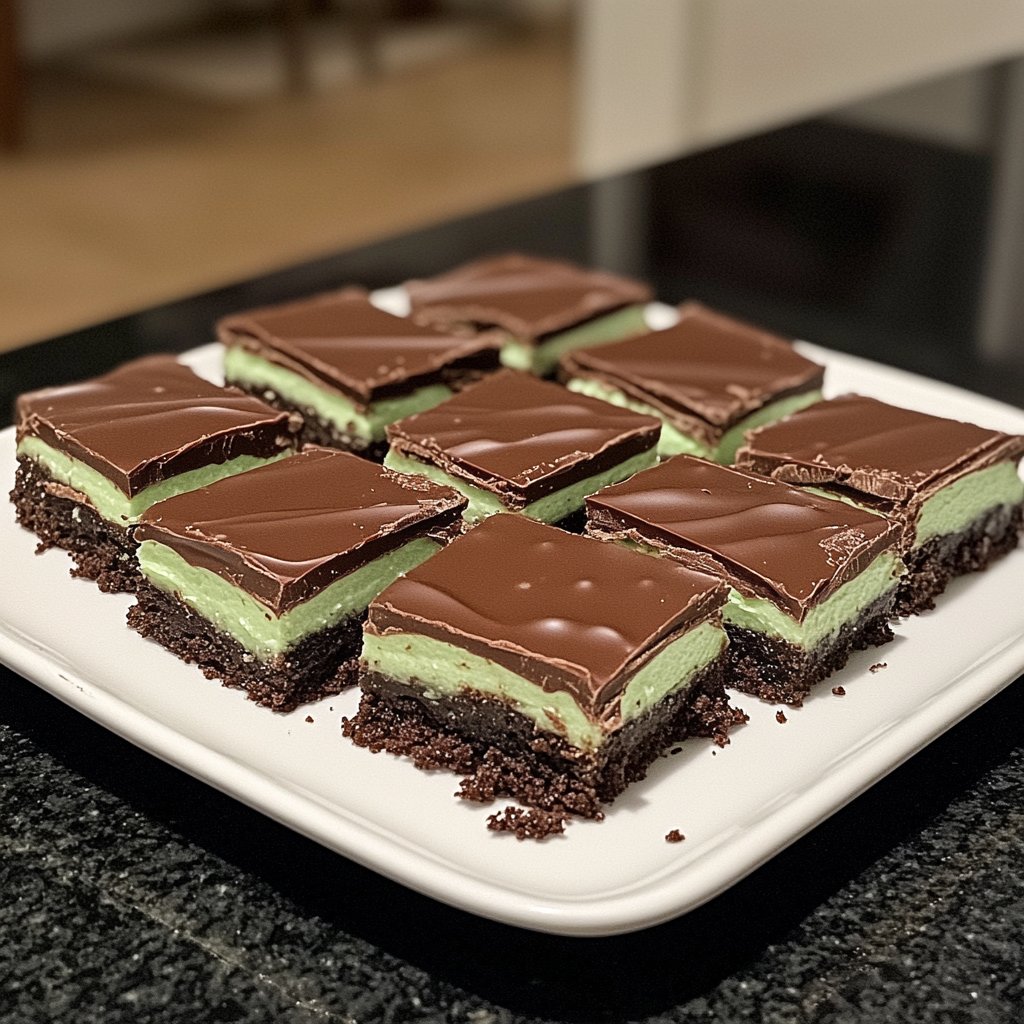
When I first tried my hand at making Chocolate Mint Slice Bars, I was pleasantly surprised by how simple the process truly was. The combination of crushed biscuits with melted chocolate creates a satisfying base, while the mint filling adds that refreshing kick. I learned that letting the bars chill for a little longer ensures a firmer texture, making them easier to slice and serve.
One tip I cherish is to use high-quality dark chocolate for the top layer; it balances the sweetness of the mint perfectly. The first time I served these bars at a family gathering, they disappeared in minutes and sparked a flurry of compliments!
Why You Will Love This Recipe
- The perfect balance of rich chocolate and invigorating mint
- No-bake recipe that saves time and effort
- Easy to adapt with variations for different occasions
The Importance of the Biscuit Base
The crushed digestive biscuits serve as the foundation for the Chocolate Mint Slice Bars. They provide a beautiful contrast in texture to the creamy filling and chocolate topping. When mixing the melted butter with the biscuits, ensure that all the crumbs are fully coated for a cohesive base. Press the mixture firmly into the baking pan to prevent crumbling when slicing later on. A solid, well-compressed base helps the bars hold their shape when cut, providing clean edges and easy handling.
If you’re looking for a gluten-free option, consider using gluten-free digestive biscuits. The flavor will remain deliciously rich and satisfying. Additionally, if you want a different texture, you can experiment with crushed graham crackers or even chocolate cookies, but be mindful that this may slightly alter the flavor profile. Fine crumbs work best, but if your biscuits are chunky, just give them an extra blitz in the food processor.
Perfecting the Mint Filling
Creating the mint filling is where the magic truly happens in this recipe. Ensure the sweetened condensed milk is at room temperature before mixing; this helps it blend smoothly with the peppermint extract. If you’re unsure about the peppermint flavor, start with a smaller amount and gradually add more to taste. The goal is to create a harmonious balance, not to overpower with mint. Using high-quality peppermint extract also makes a noticeable difference in the final taste.
If you decide to add green food coloring for that festive touch, do so sparingly. A couple of drops will achieve the vibrant color you desire without overwhelming the mint flavor. Keep in mind that the topping layer will also slightly alter the appearance—balance is essential. Once you're done, spreading the filling evenly on top of the biscuit base will ensure that each slice has its fair share of refreshing mint goodness.
Chocolate Layer Tips and Tricks
Melting the dark chocolate carefully is key to achieving a glossy finish for your topping. If using a microwave, heat the chocolate in 30-second intervals, stirring after each, until fully melted. This helps prevent any scorching, which can lead to a grainy texture. Alternatively, a double boiler is a foolproof method—just ensure the water doesn't touch the bowl holding the chocolate, as any water can cause the chocolate to seize.
Let the melted chocolate cool for a minute before pouring it over the mint layer. This prevents the heat from melting the filling underneath, keeping the layers distinct. For an artistic flair, consider swirling in a little white chocolate for contrast before it sets. These small touches not only enhance the visual appeal but also elevate the overall flavor experience, making each bar not just a treat for the taste buds but also a feast for the eyes.
Ingredients
Base and Filling
- 250g digestive biscuits, crushed
- 150g unsalted butter, melted
- 400g sweetened condensed milk
- 1 teaspoon peppermint extract
- Green food coloring (optional)
- 200g dark chocolate, chopped
Feel free to substitute the biscuits with your favorite cookies!
Instructions
Prepare the Base
In a mixing bowl, combine the crushed digestive biscuits and melted butter. Mix until fully combined and the mixture resembles wet sand. Press this mixture firmly into the bottom of a greased 8x8 inch baking pan.
Make the Mint Filling
In another bowl, combine the sweetened condensed milk, peppermint extract, and a few drops of green food coloring if desired. Mix until smooth and well incorporated. Pour this mixture over the biscuit base and spread it evenly.
Add the Chocolate Topping
Melt the dark chocolate in a microwave or over a double boiler until smooth. Pour the melted chocolate over the mint layer and spread evenly. Scrape any excess chocolate from the sides and smooth out the surface.
Chill and Serve
Refrigerate the slice for at least 2 hours or until firm. Once set, remove from the pan, slice into bars, and enjoy!
Store the bars in an airtight container in the refrigerator for up to a week.
Pro Tips
- For an extra touch, sprinkle some crushed candy canes on top of the chocolate before it sets. This adds a festive crunch and a pop of color!
Storing and Serving Suggestions
To store your Chocolate Mint Slice Bars, place them in an airtight container in the refrigerator. They can stay fresh for up to a week, but I guarantee they'll be gone long before that! If you want to maintain their best texture, use parchment paper to separate layers if stacking them in the container. For a delightful twist, serve them alongside freshly brewed mint tea or a scoop of vanilla ice cream to complement the minty flavors.
If you're preparing these bars for a special occasion, consider cutting them into fun shapes with cookie cutters after they've chilled. This can elevate the presentation, making them a delightful addition to dessert platters. Drizzling melted chocolate or white chocolate over the top can also add a personal touch while enhancing the overall flavor.
Variations to Try
Feel free to put your own spin on this recipe! You can layer in some crushed nuts like walnuts or pecans within the filling for added texture. A sprinkle of crushed candy canes on top before chilling can also make them extra festive, especially around the holidays. For a more indulgent experience, consider using milk chocolate instead of dark chocolate, which will yield a sweeter topping that pairs exquisitely with the mint.
If you need a vegan option, substituting regular butter with coconut oil and using a vegan chocolate will not compromise the overall taste while accommodating dietary needs. The filling can also be made with coconut cream, ensuring that no one misses out on this delicious treat, knowing there's an accessible alternative for everyone.
Questions About Recipes
→ Can I use another type of chocolate?
Yes! You can use milk chocolate or white chocolate if you prefer a sweeter taste.
→ How long do the bars last?
They can be stored in the refrigerator for up to one week.
→ Can I make these bars vegan?
Absolutely! Use vegan biscuits, dairy-free butter, and coconut condensed milk to keep it vegan-friendly.
→ What can I serve with these bars?
These bars pair wonderfully with a scoop of vanilla ice cream or a cup of peppermint tea.
Chocolate Mint Slice Bars
What You'll Need
Base and Filling
- 250g digestive biscuits, crushed
- 150g unsalted butter, melted
- 400g sweetened condensed milk
- 1 teaspoon peppermint extract
- Green food coloring (optional)
- 200g dark chocolate, chopped
How-To Steps
In a mixing bowl, combine the crushed digestive biscuits and melted butter. Mix until fully combined and the mixture resembles wet sand. Press this mixture firmly into the bottom of a greased 8x8 inch baking pan.
In another bowl, combine the sweetened condensed milk, peppermint extract, and a few drops of green food coloring if desired. Mix until smooth and well incorporated. Pour this mixture over the biscuit base and spread it evenly.
Melt the dark chocolate in a microwave or over a double boiler until smooth. Pour the melted chocolate over the mint layer and spread evenly. Scrape any excess chocolate from the sides and smooth out the surface.
Refrigerate the slice for at least 2 hours or until firm. Once set, remove from the pan, slice into bars, and enjoy!
Extra Tips
- For an extra touch, sprinkle some crushed candy canes on top of the chocolate before it sets. This adds a festive crunch and a pop of color!
Nutritional Breakdown (Per Serving)
- Calories: 250 kcal
- Total Fat: 16g
- Saturated Fat: 10g
- Cholesterol: 30mg
- Sodium: 45mg
- Total Carbohydrates: 28g
- Dietary Fiber: 1g
- Sugars: 18g
- Protein: 3g